If you would like to increase the accessibility of your Tilda website, UserWay’s AI-Powered Accessibility Solution is a great place to start. This guide will help you manually install the UserWay Tilda Accessibility plugin and make your website more accessible to your visitors.
Step 1: Register Your Tilda website with UserWay
First, you need to register your website with us by clicking on the blue “Start Free Trial” button at the top right of the userway.org home page.
Follow all the registration steps to receive your unique code snippet. You can copy the text to your clipboard, or save it as a text file. You can also find it in the welcome email that you received when registering your website with UserWay.
You don’t need to re-register if you’ve already registered a website with us. You can simply add the new website to your existing list, and reuse the same unique code that you used for your previous website. To locate this code, you can check the welcome email that was sent to you upon registration, or log into your UserWay dashboard and navigate to the “My Embed Script” option located in the top right menu. This code can be copied and pasted onto your website to activate your Tilda plugin.
If you have trouble signing into your UserWay dashboard, your login credentials can be found in your welcome email, sent to you upon registration.
Step 2: Select or Create a “Footer” Page
In your Tilda website dashboard, select the website in which you want to install the accessibility widget. Scroll down the page and click on “Footer.” If the “Footer” and “header” pages are not listed here, be sure to create them, and designate them as a header and a footer in the site settings.

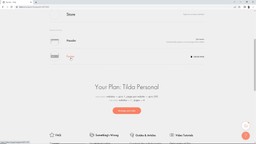
You’ll need to place your unique code in your “Footer” page so that your Tilda plugin is accessible on every page of your website.
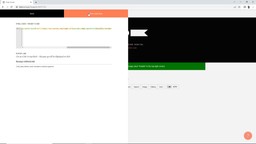
Step 3: Embed the Unique Code and Plugin to Your Tilda Website
In your “Footer” page, select “More Blocks” in the center of the page. A menu on the left side of the page will appear. Scroll down until you see “Other.” Then, select the “Embed HTML Code” block along the left side menu.

When you place your cursor on top of the block,some options will appear. On the left side of the page, click “Content” and paste your unique code into the text field. Don’t forget to click the “Save and Close” button to save your changes!
Step 4: Publish, Preview, and Customize Your Widget
You’re all done! Publish your website to implement the changes from the Tilda plugin, and be sure to check that it’s working correctly.
You can customize your widget through either the widget itself or through your UserWay dashboard. Both options will give you full access to the available customization options.
Alternatively, if your website requires more accessibility features, consider the UserWay Pro Widget to better suit your needs.